
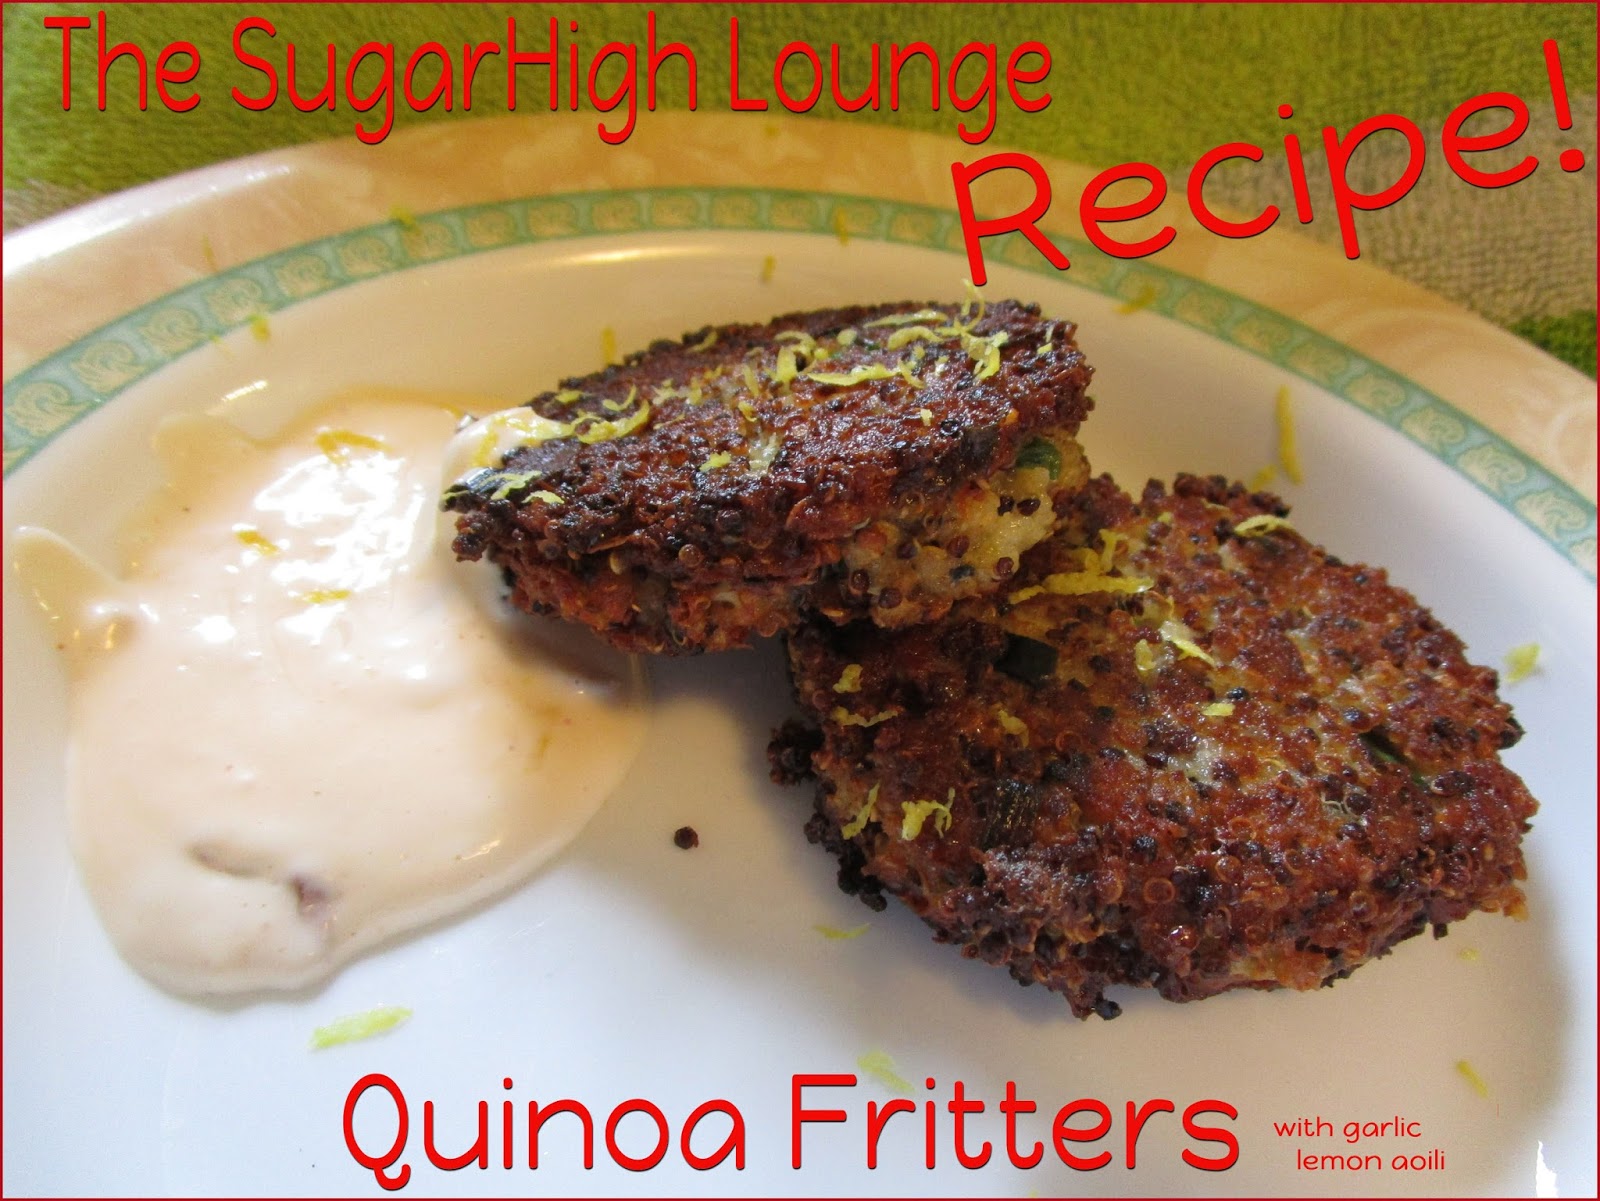
Quinoa Fritters with Garlic Lemon Aoili
This recipe is an adaptation of a zucchini fritter I made last year, but never posted a recipe. It's fairly basic and easily customizable. Adding dry ingredients will mean you can use less flour, and wet ingredients will need more flour for the mixture to hold together while being cooked.
Quinoa is a great product to use for people with sensitive tummies, it's gluten free and as grains go - gentle on the digestive system. The Quinoa I am using for this recipe is a boil-in-bag from Success, which is one of the products given in the #momlife VoxBox from Influenster.
 |
| Success Boil-in-Bag Quinoa! |
If you have never cooked Quinoa before, the boil-in-bag option from Success is a great way to cook it without worry of over/under cooking, and less mess! The raw/dry form of Quinoa are very small, and light (airy) - so the potential for mess is eliminated when they are sealed up in bags!
 |
| Coooked, in bags. |
 |
| Cooked quinoa. |
After the bags boil in water for just 10 minutes remove and let drain for about 5 minutes. For my recipe you can leave them to drain and cool longer, if you'd like; and even refrigerate for later (or use leftovers!).
Recipe
Fritters
2c cooked quinoa
2/3c shredded cheese (I used pepper jack)
2-3tbs flour
1 green onion (sliced thin)
1 egg (beaten)
1tsp black pepper
1tsp garlic salt
1tsp salt
1/4c oil (any kind, for frying)
Aoili
1/2c prepared mayo
2-3 cloves garlic (roasted or fried, and chopped finely)
1 juice and zest of one lemon
1tsp hot sauce (optional)
*Note: In the photos I have doubled the recipe for the fritters.
Directions
Simply mix all fritter ingredients in medium bowl thoroughly.
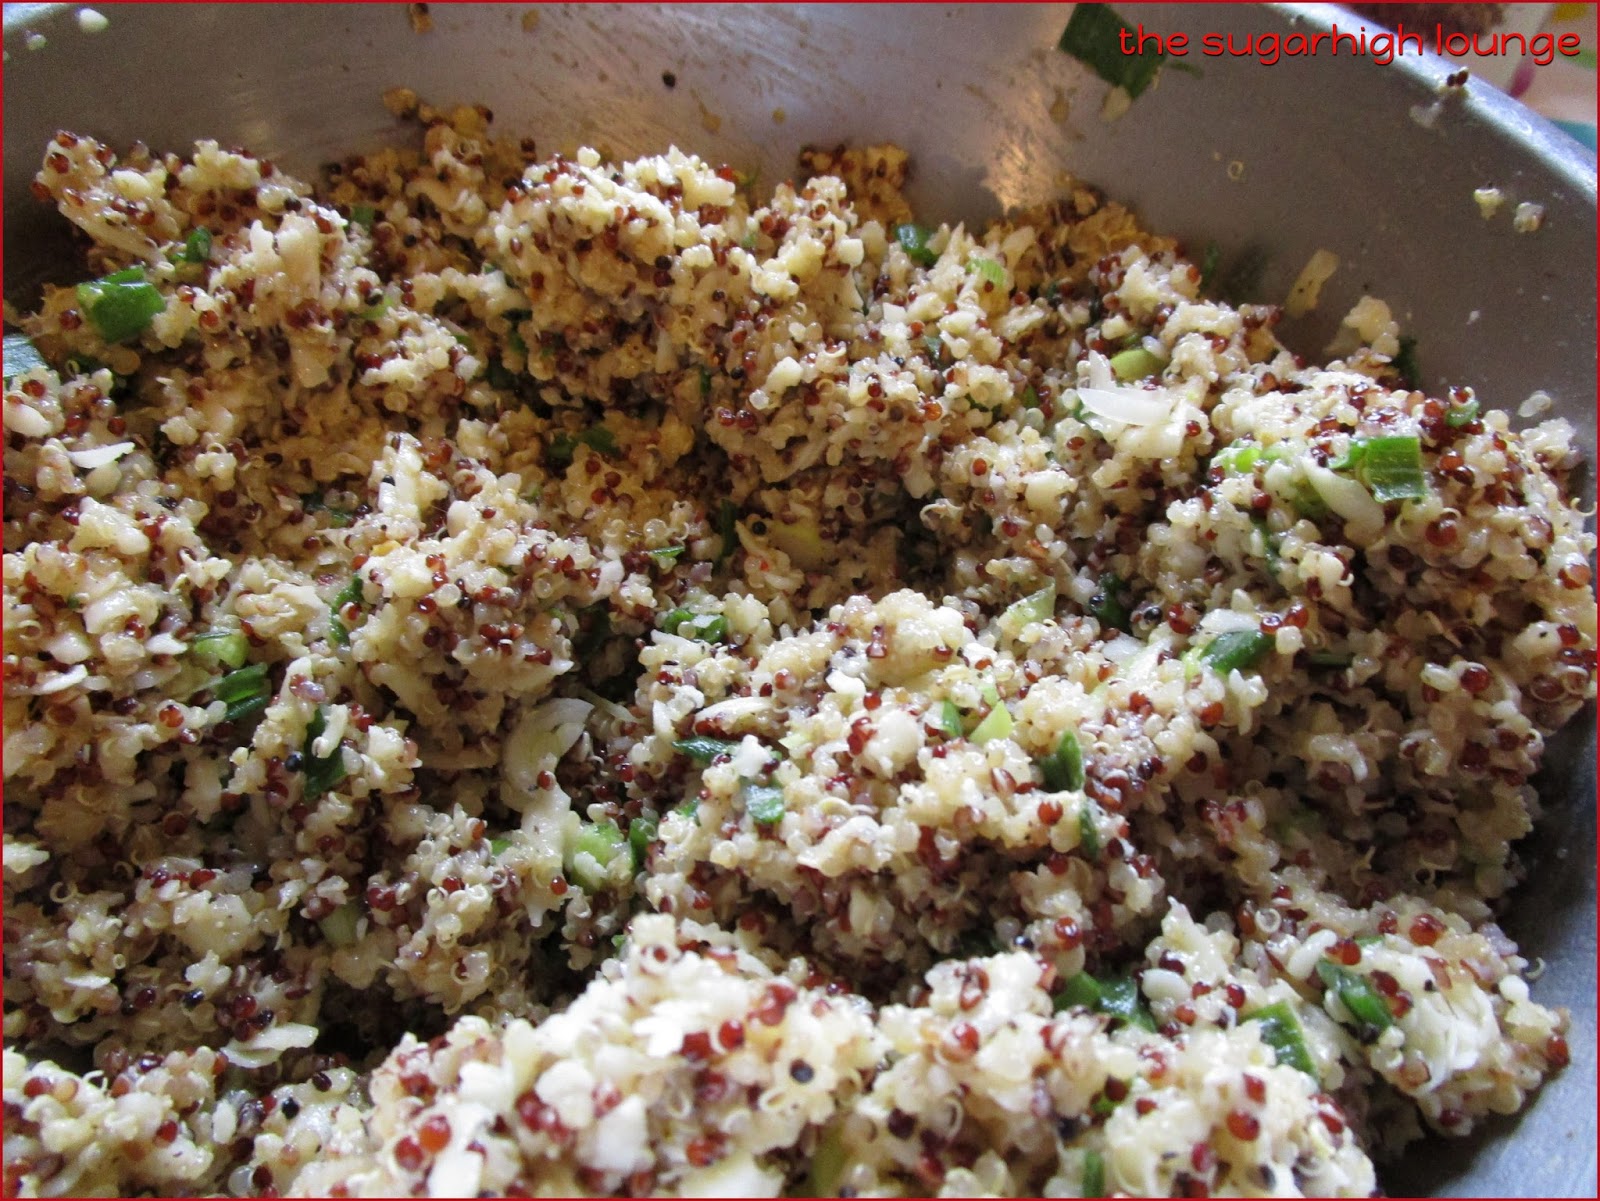
Pro Tip 1: The amount of flour used depends on the moisture level of the mix, I used an ice cream scoop (because the quinoa sticks to hands), and pressed the mix into the scoop fairly firmly. If the mix comes out easily and stays in the scoop shape - it's ready to cook. If it falls apart - add a tablespoon of flour at a time until it keeps it shape.

Add half of the oil to frying pan, and heat to medium-high (should only take a minute or two to get the oil hot). As you cook, you may need to add more oil to the pan because the fritters do absorb the oil a bit.
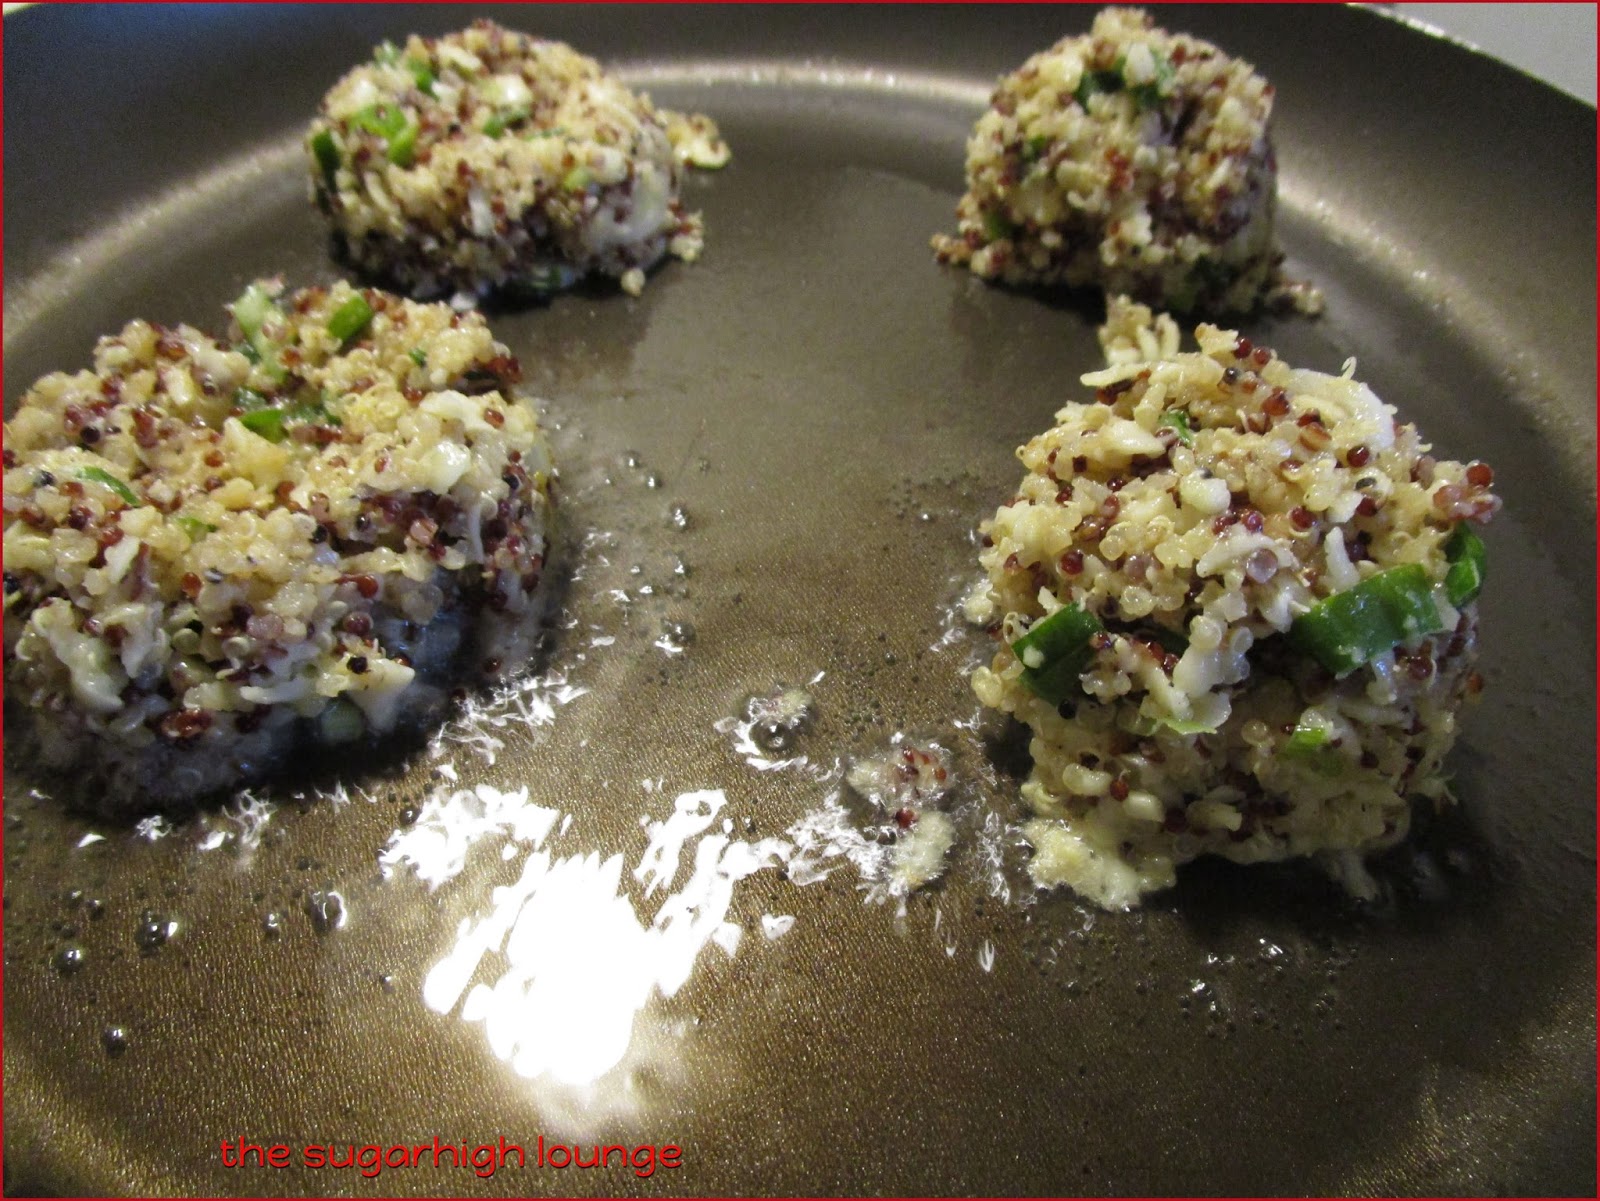
Cook until light brown (or a bit darker brown if you prefer), about 2-4 minutes on each side.
Pro Tip 2: Cooking time depends on fritter size, the number of fritters in the pan and temperature you cook them at. Since all ingredients are cooked except for the egg, you are simply frying them until the egg is cooked and forms the patty.

Once they are brown enough, remove from pan and allow to drain on a rack. I do not recommend using paper towels, as the fritters hold a bit of moisture inside and the bottom would get soggy.
Serve these warm, with the garlic lemon aoili (recipe below)!
Pro Tip 3: Roasting or frying garlic simply brings out a nice mellow flavor. I fried mine in the pan with the fritters (see below) until golden brown - DO NOT OVER-COOK! Burned garlic is very bitter and does not taste good!
 |
| Frying garlic |
 |
| Raw garlic at the top, fried at the bottom |
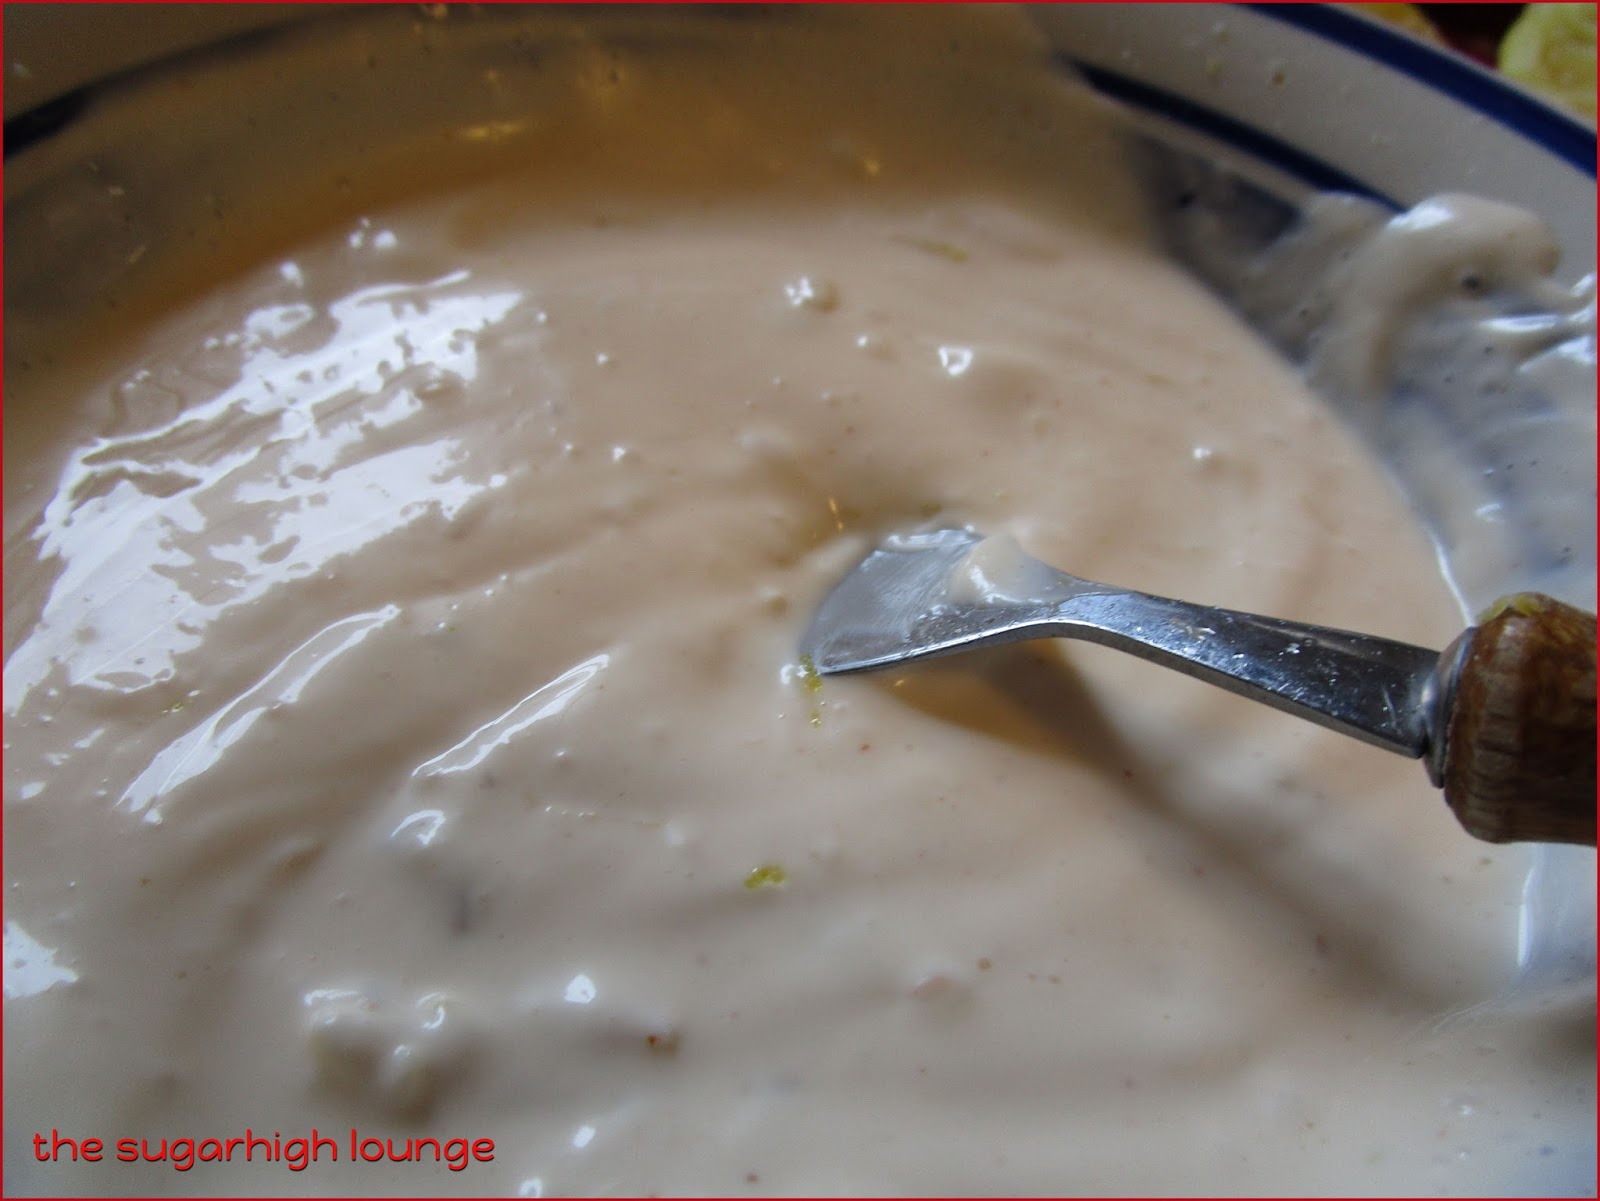 |
| Mix it all up! |
Serve the aoili with your fritters for a nice refreshing sauce, as the fritters can be "heavy".


#EasySuccessQuinoa #gotitfree #contest
I recieved Success Quinoa free to try from Influenster for testing purposes.


